
Halloween Recap: Link Cosplay from The Legend of Zelda
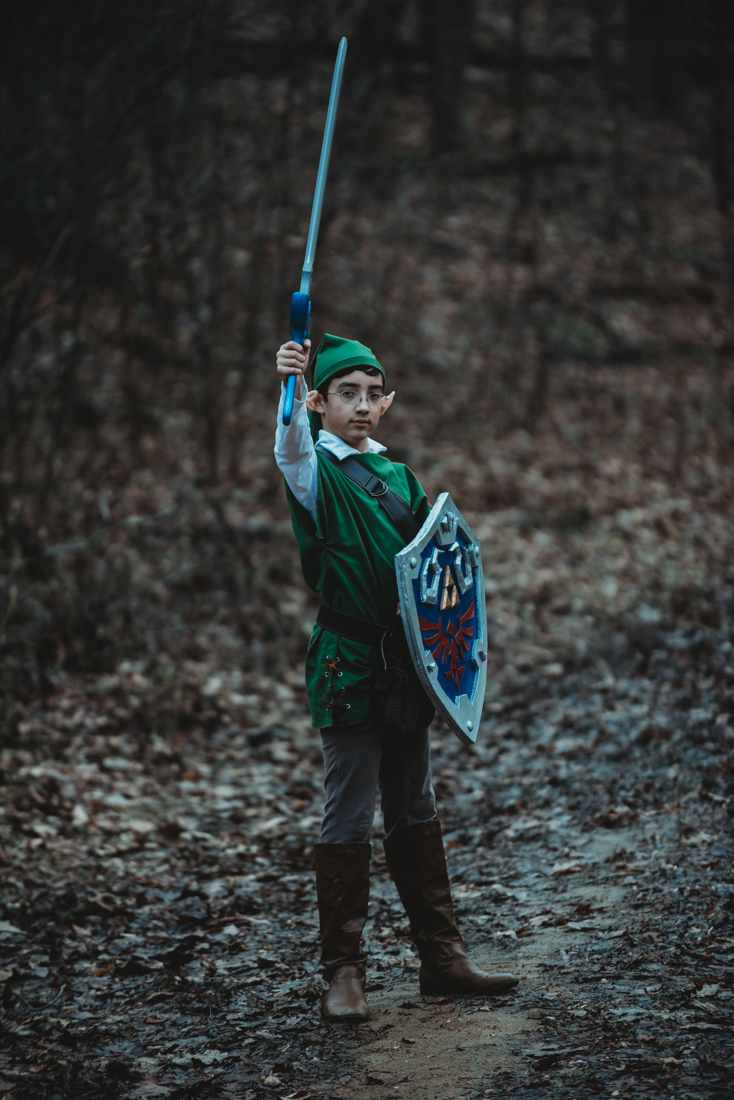
I have been so excited to make this costume for my son! Link is a favorite character for both of us, and it seemed like one of the easier cosplay attempts to tackle as my first try at “real” costuming. I started the costume over the summer, knowing that we had vacation plans and such and I wanted to be sure it was finished in time both for Halloween and the local faire season.
For Link’s tunic, we chose a green cotton linen fabric. I picked something lightweight so my son had the option to wear it to the renaissance faire and it can be pretty hot at the start of faire season here. I used Simplicity Pattern 9887 (which also has some great cape patterns!) and sized it down a bit to fit him, as well as make the sleeves a few inches longer. This video is an excellent guide that uses this pattern, especially for shaping the sleeves. I added grommets and brown lacing to the bottom side slits and sleeve slits. I used this grommet plier set from Joann’s and it worked with some practice for this project, but I’d like to invest in a nicer kit in the future (especially for heavier fabrics, something stronger will definitely be required). The white shirt under the tunic and tan pants were thrift store finds that I altered. The white shirt was a turtle neck and I cut vertically down the front collar, folded over the raw edge, and hemmed. I added grommets and white lacing. The pants were taken in to be more fitted.
The Master Sword was purchased from a wonderful faire vendor called Adventure Armoury! He makes all sorts of wooden swords from both history and fictional characters. Adventure Armoury is one of our favorite vendors to visit during faire visits.
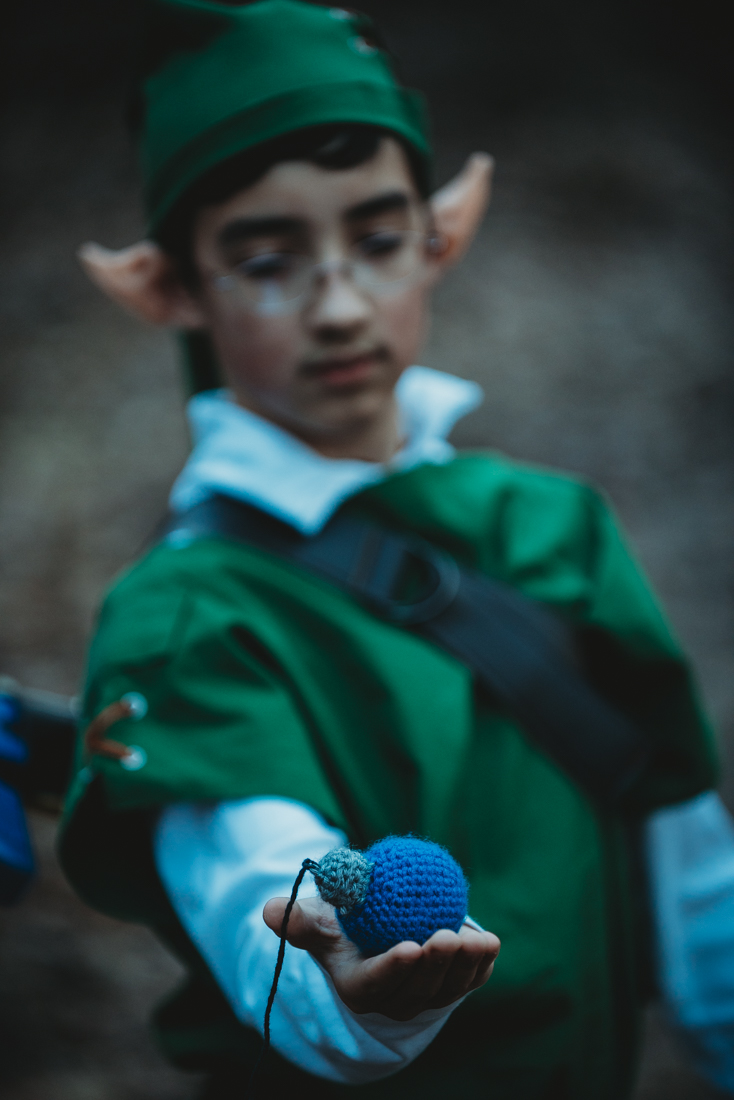
The bombs and bomb bag were crocheted from a pattern purchased at QuietNova’s Etsy shop. The pattern was very easy to read and they were quick to make!
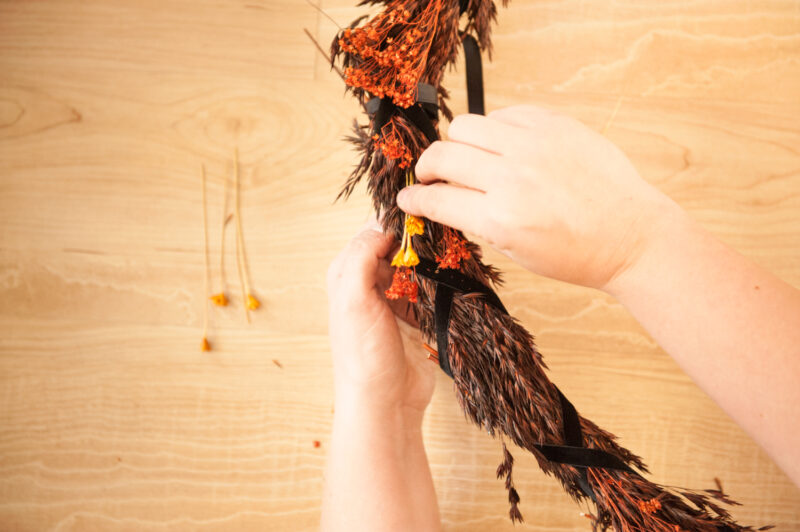
The sheath for the sword was a self-drafted pattern based on the specific sword that we used. I traced the sword shape/size onto the back of the dark brown faux leather fabric, leaving some room for the seam. I used this image to base my yellow decorative faux leather pieces on, choosing and resizing the elements that fit the size of the sheath. I did this in Photoshop by measuring the length and width of my brown base fabric, and enlarged the illustration until the yellow accents were appropriately sized. I printed my pattern pieces over a few sheets of card stock, and used that to cut from the yellow faux leather fabric. I glued the yellow accents onto the brown sheath, then sewed through all the layers while sewing around the edge of the sheath back, front, and accents. The sheath straps were just more of the brown faux leather sewed wrong sides together and held up to/around my son for sizing. I used a D-ring to secure the straps over his chest and make it somewhat adjustable.
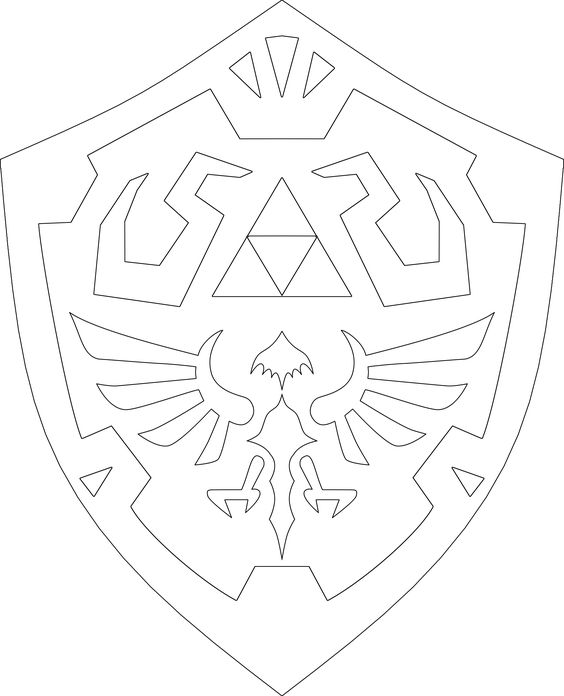
Finally, the shield was my first attempt at foamsmithing, and went okay considering the inexperience! I used floor mats from Home Depot and cut my pieces based on this illustration. I cut one solid piece of foam in the shape of the shield, and all of the decorations including the outline are on a second layer.
My son was really happy with the costume, which made me thrilled! The whole experience was fun – the research, the sewing, the pattern making and altering, even the trial and error (lots of error!) with the foam was really cool. I’m eagerly awaiting the next character he wants to be!
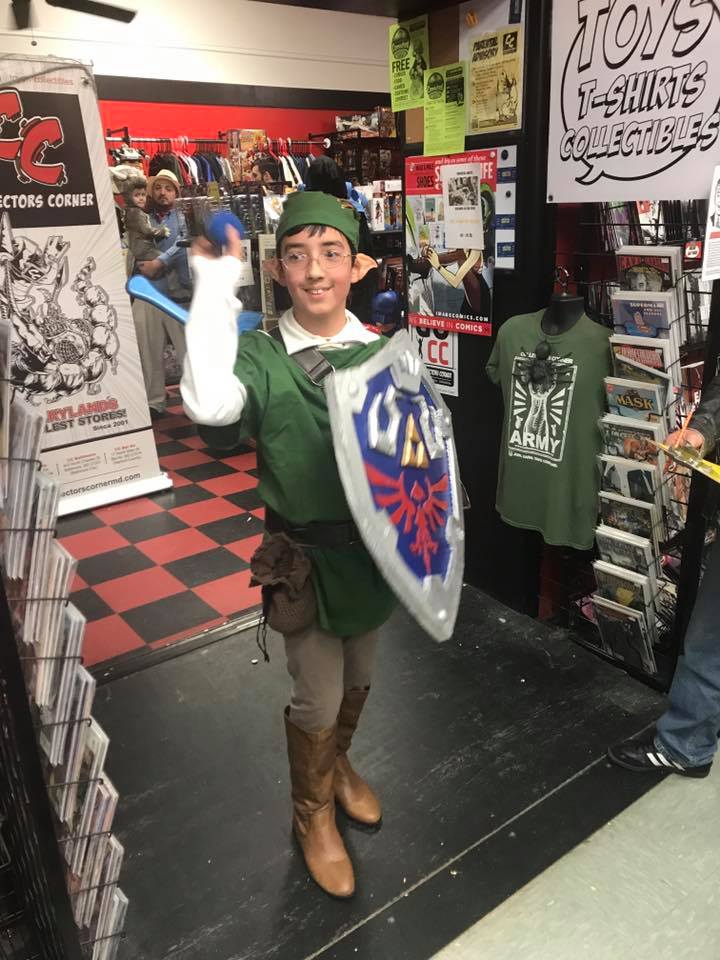
At Collectors Corner, our favorite local comic store’s Halloween party and costume contest.


