I’ve been aware of Cricut machines for probably 10 years now, and kept going back and forth as to whether or not I really needed one. They seemed cool, but a lot of the projects I saw weren’t really my style…
…until I learned that the Maker cuts EVA foam. If you’re not familiar with it, eva foam is an integral part of cosplay. So many impressive suits of armor and weapons start out as sheets of foam and they’re cut, glued, warped with heat, and painted into really impressive-looking costumes.
Once it was announced that our local renaissance faire will be held this fall (assuming things keep going in a positive direction with covid), I immediately got started on planning costumes. My son chose an elf archer character to dress up as based on some pretty fantasy art we looked at. There’s some light armor involved, of course covered in leafy scales. While looking up the best thickness of foam to use for the scales, I came across lots of people making strips of foam scales with the Cricut Maker. This CosplayCentral article has great starting info for both the Maker and the Explore Air 2 and really helped me out! After a few seconds of considering cutting out hundreds of foam scales by hand versus designing them in Illustrator and having the Maker cut them much faster and with more precision…it was an easy decision to finally make the purchase!
Here’s what I bought to get started:
- Cricut Maker
- Strong Grip Cricut mats, 12″ by 24″
- Cricut Knife blade
- 2mm foam sheets, 8.5″ by 11″ (I get this multicolor pack because it is less expensive and they always get painted eventually anyway!)
- Contact cement
- Scissors
- Xacto knife
- Painter’s tape
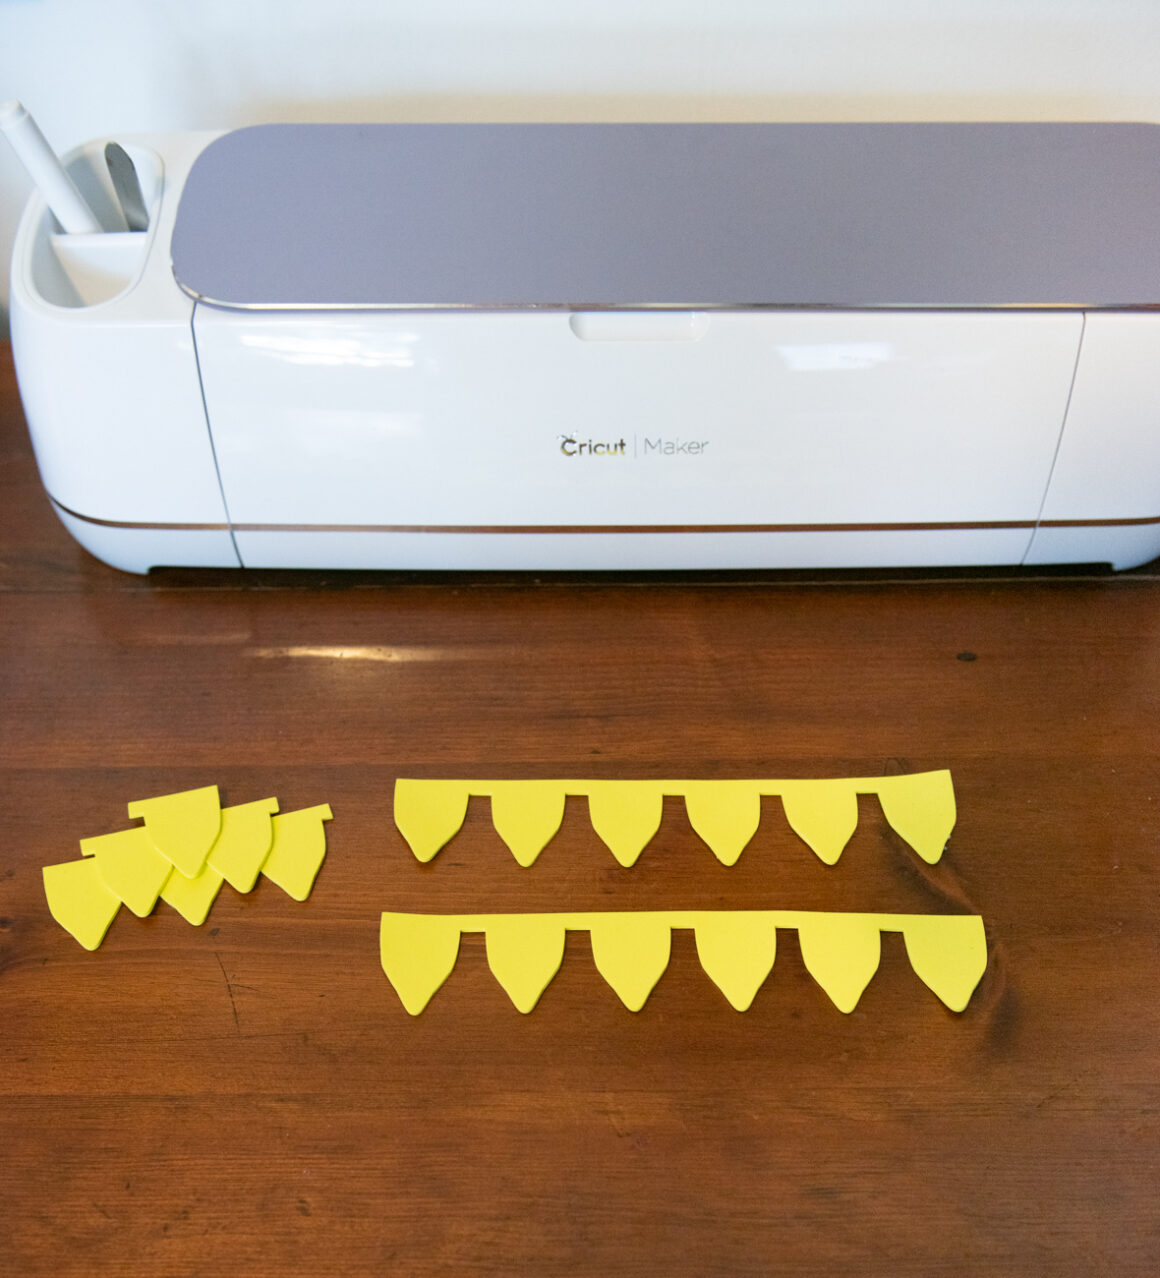
I printed several test scales from my Illustrator file on paper to test the size against my base armor that I’ve put together so far. Then, I cut one strip of scales to test my file and Cricut settings. I used the Knife blade and chose the 1/16″ basswood as my material, and used the Strong Grip mat with painter’s tape along the edges of the foam sheet to really secure it (I did not put painter’s tape on the back of the foam as in the CosplayCentral article, but maybe it would be worth trying when the mat loses grip over time).
With a new, sharp blade, I only needed two passes for complete, clean cuts in the foam. Stop cutting there! You can pause the Cricut Maker and check if the cuts are complete, and I highly recommend you do so in order to avoid cutting into your mat.


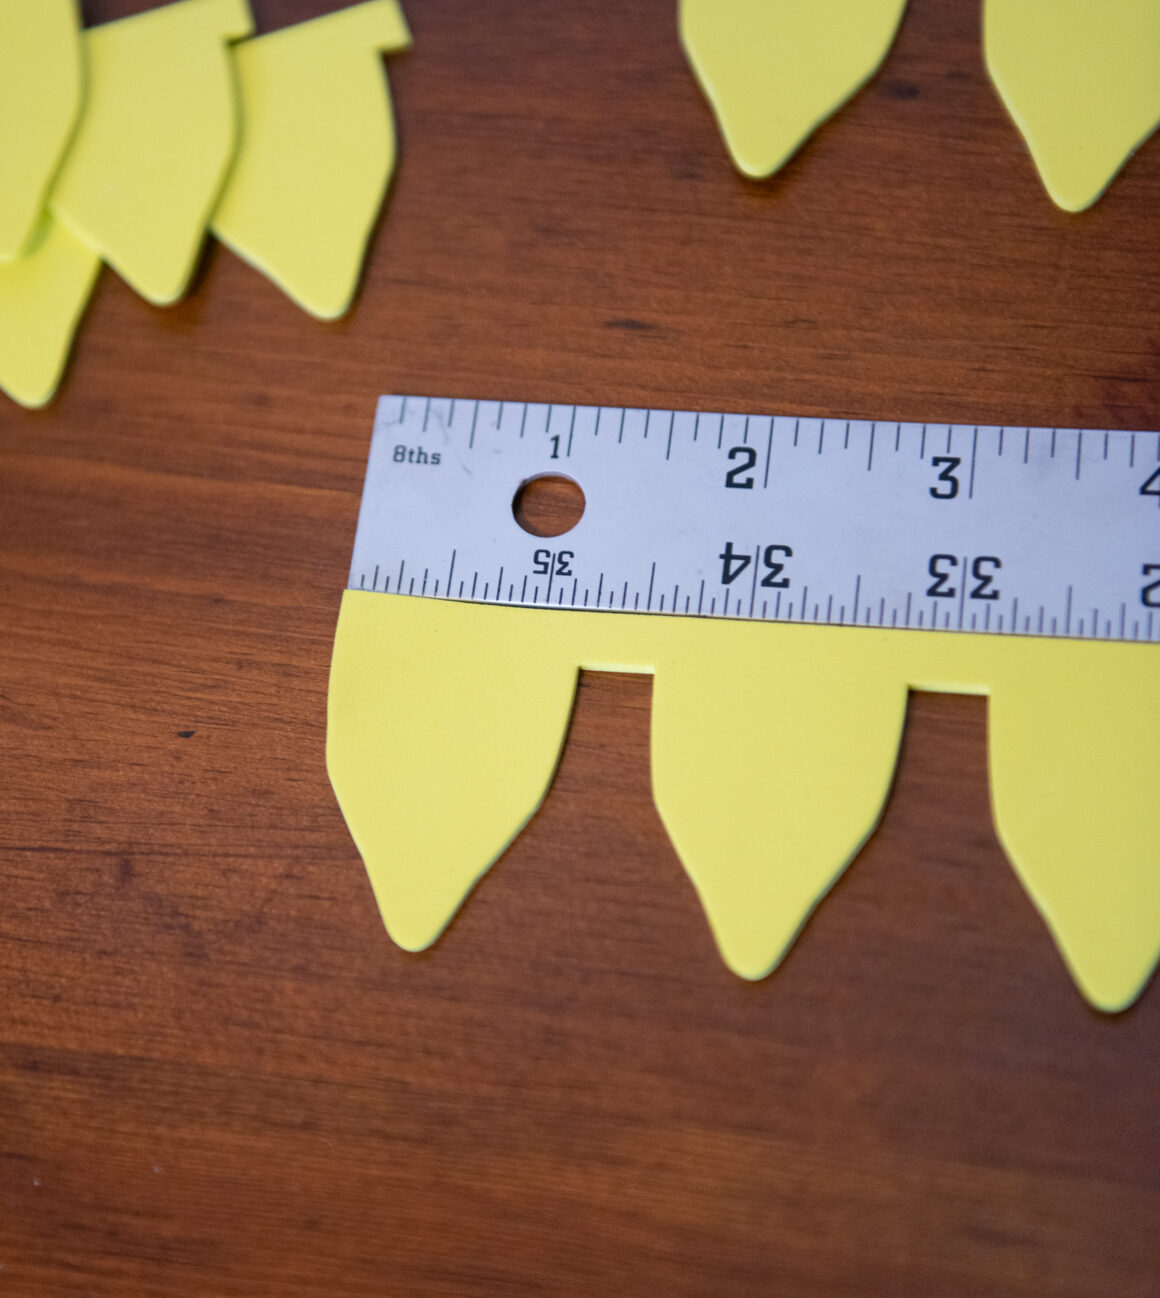
As you can see the edges of the scales are so crisp and clean! I’m really excited for now neatly the scales come out, and how fast too – considering I’ll need probably 200 or so for this costume, this is definitely a better and faster result than cutting by hand.
This tumblr post has some really cool ideas for painting and shaping the scales – I may try some of this when all of the scales are cut!
Here are the Illustrator and SVG files I used to make my scales! Feel free to use this file for your own costumes, or use it as a starting point and edit it to the perfect size and shape for what you’re making.
I am really excited for this costume to come together for my son, so check back and I will share my progress!
Want more free patterns and printables? Find the rest here!


Leave a Comment