Plague Doctor Costume / Cosplay
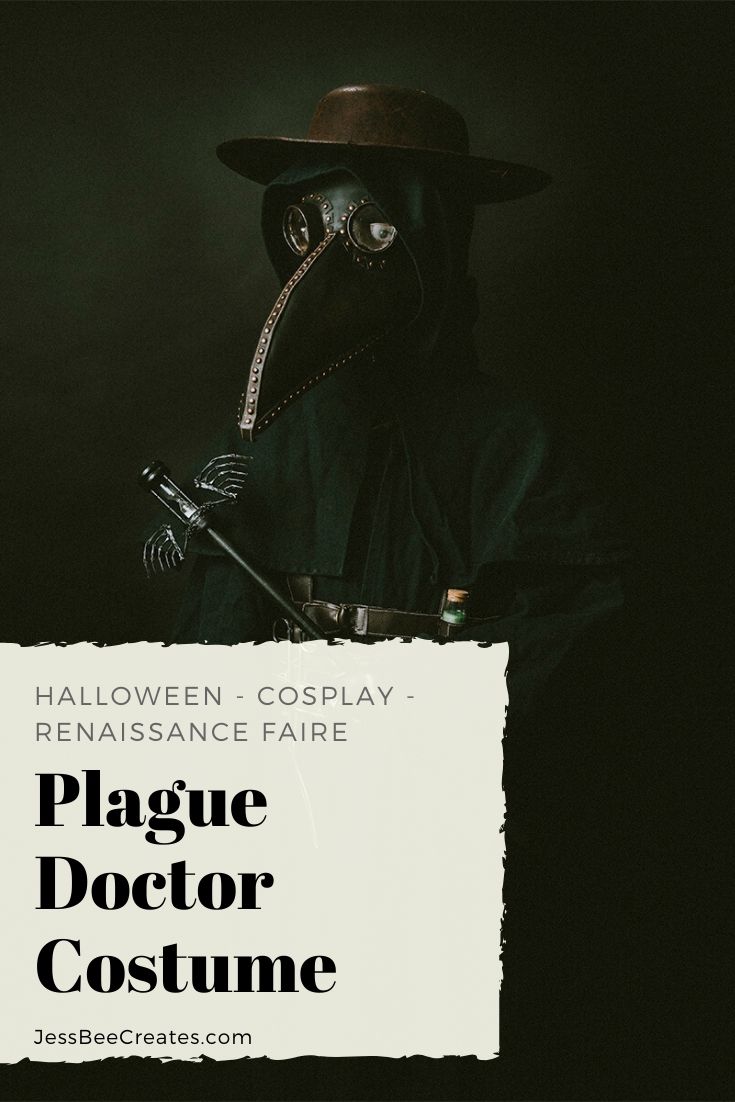
For our local Renaissance faire, my son wanted something roughly historically appropriate and on the spooky side to make it ideal for Halloween too, so we went with a classic plague doctor. We usually see one or two neatly done plague doctors during our faire visits, and this year they had a whole unofficial weekend dedicated to them! This is a historical figure that is simultaneously fascinating and horrifying, while also making me grateful for modern medicine and skilled doctors! The historically accurate attire of a plague doctor is fairly plain, leaving a good amount of room for us to take some creative liberties and have some fun with it. We browsed Pinterest and social media and saw some really cook takes on the costume – lots of steampunk versions especially, some with armor, some with antique medical tools – all of which looked amazing.
Here’s how we made our version…
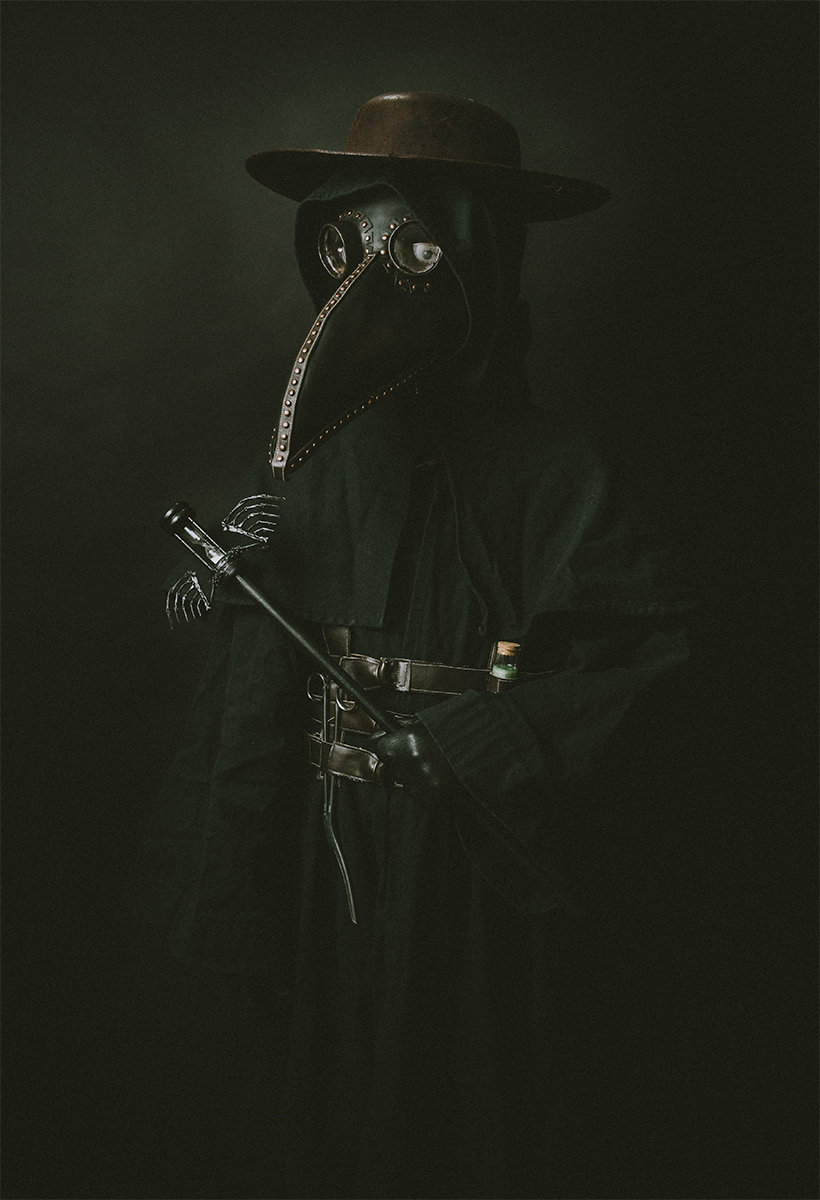
I used this pattern from BluPrint to make the base mask. The pattern is very well drafted, but I highly recommend doing a mock up in an inexpensive material so you can make sizing adjustments. The mask as-is was very small and didn’t fit over glasses, so I had to enlarge the pattern in Photoshop. I used a faux leather fabric for the outside, and sewed the complete mask together. Then, using the same pattern pieces, I cut out craft foam that I glued inside to help the mask keep its shape. Using a light tan thread, I sewed together thin strips of the faux leather fabric, right sides out, and glued them along the seams to make the edges look more finished. The eye pieces are made from plastic spice containers covered in the same faux leather, and the lenses were cut from old CD cases with a hot knife (Scrap Bmore is an awesome place to find craft supplies to reuse and recycle for things like this!). The “rivets” along the seam strips are copper brads used for scrapbooking and paper crafts with the little bendy pieces on the back cut off (many thanks to my husband for snipping the backs off of 160+ brads!!). I used a super glue gel to stick them to the mask.
For the cape, I used Simplicity Pattern 5840, cape B, and a black canvas fabric. I thought a more utilitarian fabric choice would make sense for a traveling doctor. I used a brown frog closure at the neck, and antique brass colored hook and eye closures down the front to waist level to keep the robe closed (this didn’t always happen on Halloween – it was a surprisingly hot evening!). This was a pretty straightforward and easy portion of the costume – the robe can be made by a novice sewer.
The hat was purchased, as I was running short on time and not fully confident in my hat-making skills. It is something I really want to learn!
Finally, the strappy harness was made to carry vials of medicine (little corked bottles filled with tinted resin), long antique forceps, and a bundle of sage, lavender, and rosemary from our garden. This part was done by eye and measurements across the waist and chest for the horizontal bands, and over the shoulders like suspenders. I made the straps 1″ wide, and they’re made of two layers of faux leather, sewed with wrong sides together and a contrasting stitch just along the edge. We tried on the piece with every additional strap added, just to be sure it fit since I wasn’t working from a pattern. I used D-ring closures down the front, set slightly off-center. This tutorial from Operation Overhaul is much better than the trial and error method I used – I’ll probably use it to try to make another for fashion-y purposes at some point.
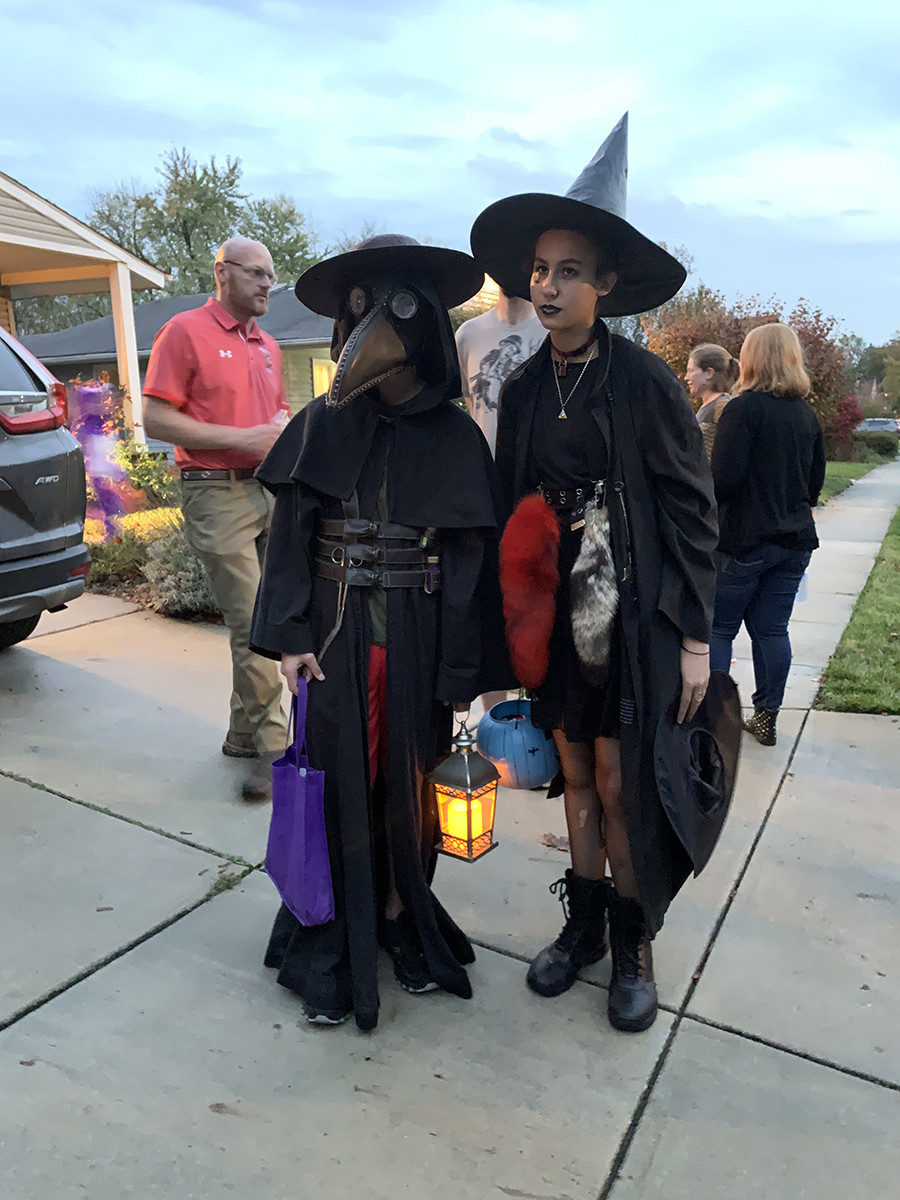
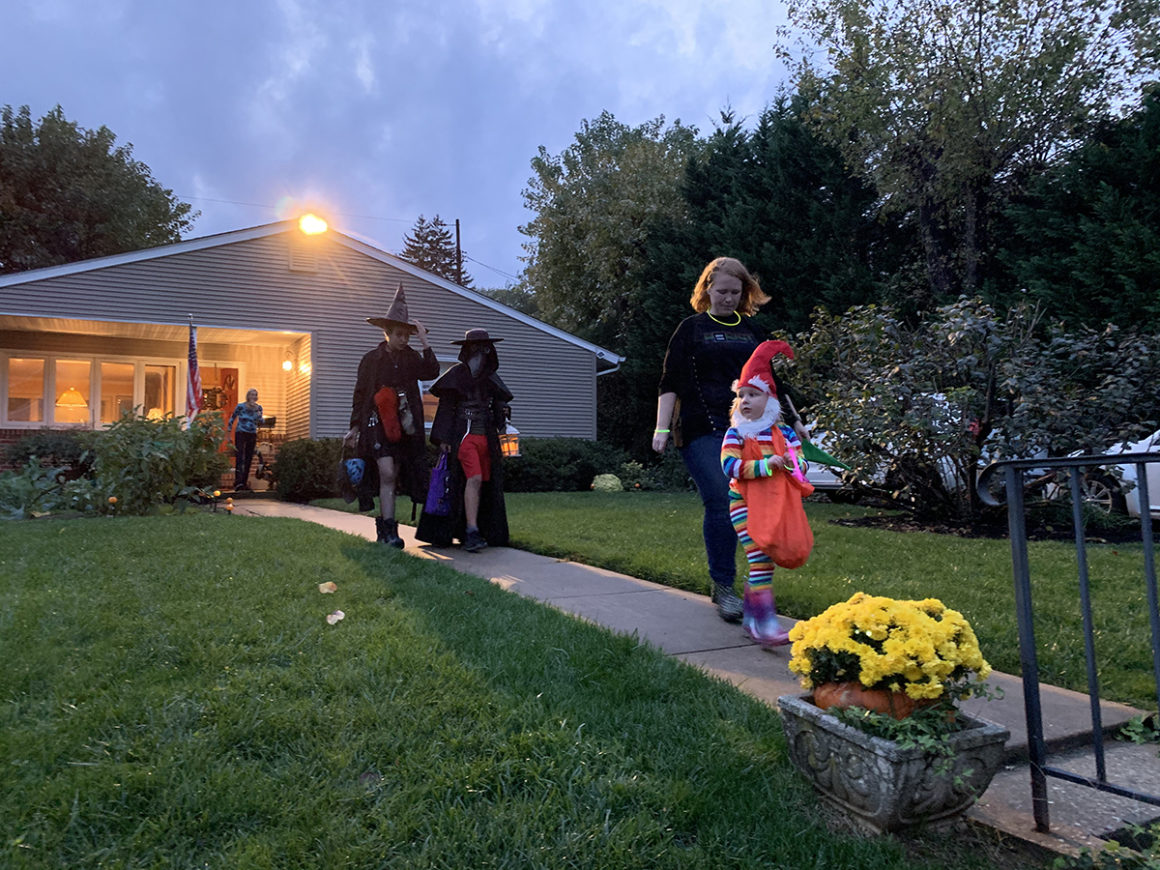
Please let me know if there are any more details needed or questions on this costume! It was fun to make and fun for my son to wear; he had lots of compliments from other faire-goers, including other plague doctors, and it was perfect for Halloween too. 🙂